All About Ceph
Introduction
Ceph is an extremely cool piece of software. While I probably can’t explain the underlying code, the self healing properties that exist make it a really good option if you want distributed storage that can last. It’s also really great that you can run it prod ready in a very short period of time (if you don’t mind containerization that is)
What’s interesting about Ceph is that it can run standalone if you need to test, but its main power comes from being able to replicate its storage across many hosts.
So now that we know a little bit about Ceph, let’s dig a little deeper.
If you want some extra info about cloud storage, I would highly recommend watching this video by IBM.
In this article we will be covering:
- How Ceph works
- How to install Ceph with Cephadm
- Discussing potential pitfalls during installation
Ceph’s Design
So how does Ceph actually work?
Ceph operates with 2 critical parts, RADOS and CRUSH.
RADOS stands for Reliable Autonomic Distributed Object Store. This is part of how Ceph operates and is the “Operating System” part of Ceph, providing the critical functions on how to store the information and monitoring/self healing.
CRUSH stands for Controlled Replication Under Scalable Hashing. This is the hash algorithm used to calculate where data is stored and distributed under replication.
Ceph also has “monitor” nodes, which act as gateways for the data. You need an odd amount of monitor nodes on a cluster to maintain quorum. Monitor nodes ensure data integrity in case self healing is required.
What in the world are OSDs?
In Ceph, Object Storage Devices (OSDs) are the physical disks that are used to store Objects. Objects are pretty much small chunks of data that can be distributed and replicated across a Ceph cluster.
What does RBD mean?
RBD is an acronym for RADOS Block Device. This is Ceph’s Block Store and it runs on top of Ceph as an application. This is typically used in an Openstack environment with Glance and Cinder components.
What does RGW mean?
RGW is an acronym for RADOS Gateway. This is also referred to as the Object Gateway in the Ceph Dashboard. This provides an interface for AWS S3 compatible Object storage to communicate with Ceph. It is also typically used with the Openstack Swift component for Object Storage.
What is CephFS?
CephFS is Ceph’s Filesystem that is compatible with both SMB/Samba shares and FTP. It functions by having both a filesystem and Metadata Server application that controls how Objects are stored. CephFS can be used with the Openstack Manila component, but it is far more infrequent compared to RGW or RBD usage in Openstack.
Ceph Installation
We will be using Cephadm to install Ceph on the cluster. Typically you would want to start this on a storage node, but you can also add it on a manager node and expand the cluster later.
Start off with the initial dependency here. We installed Ceph on Ubuntu 22.04 but all other methods will work. If you are prepping for an Openstack install, you have to use either Ubuntu or a CentOS/RHEL downstream distro.
It is also advised to download the ceph-common utils package as it makes managing Ceph via cli a breeze.
First Node Installation
Once cephadm is installed, the bootstrap command starts the initial process of creating the necessary processes for Ceph to function.
1
cephadm bootstrap --mon-ip <ip>
Replace ip with the system ip that you are installing Ceph on. The default user for the Ceph dashboard is admin. If you want to customize this initial user you can pass the --initial-dashboard-user "<insert username here>" flag during bootstrap.
Do not run the bootstrap on more than one node unless you want to create separate Ceph clusters for each node you add.
I typically grab the Ceph public key so I can add it to the root user of every server I want in the cluster. You can grab it easily with this command:
1
ceph cephadm get-pub-key
Once the Ceph bootstrap process is complete, you should be greeted by this screen on the dashboard after login:
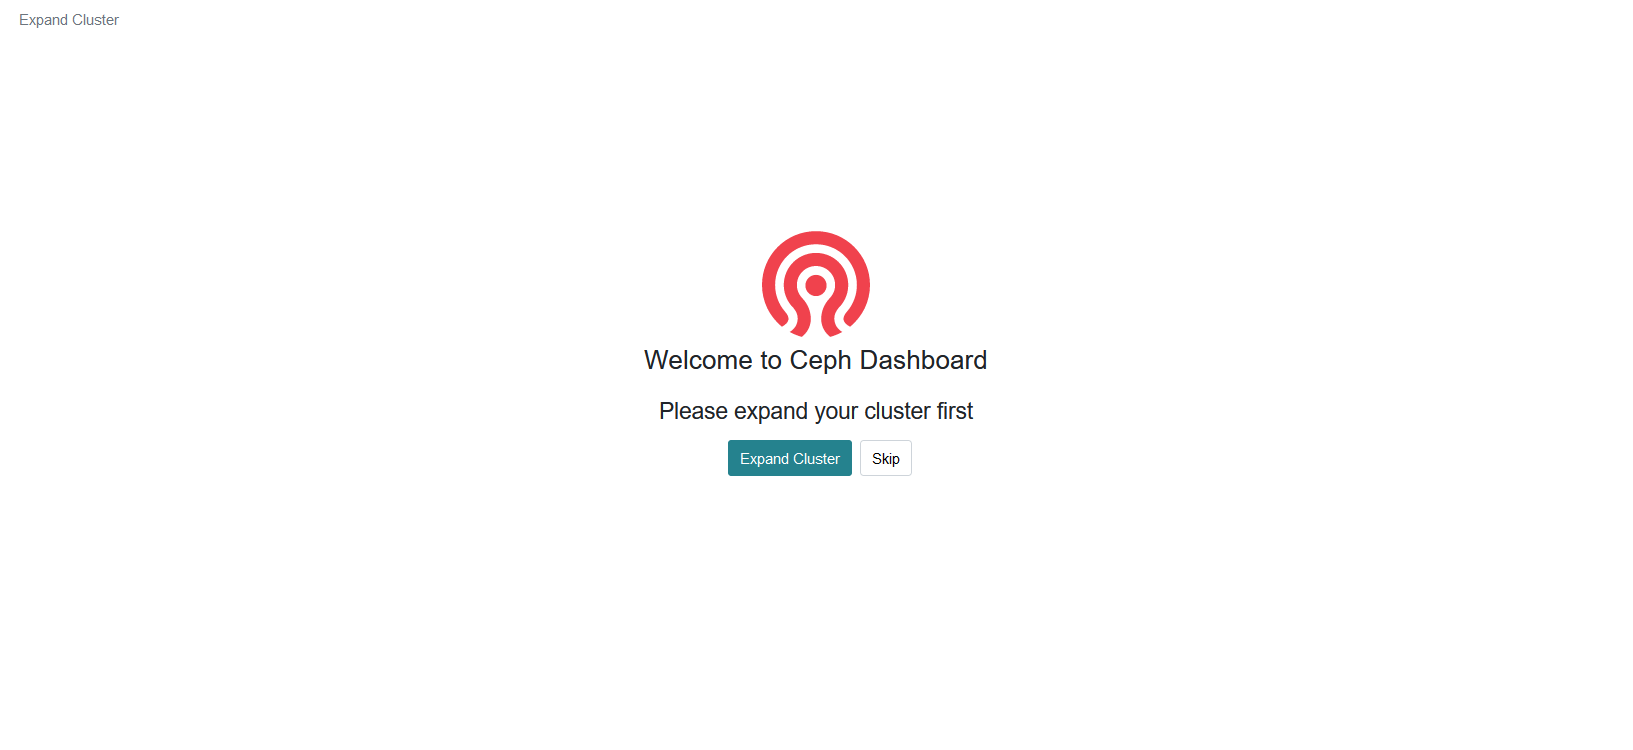
This is where you can add additional hosts from the GUI along with managing pools, services, and OSDs.
If you don’t know what you’re going for, I would suggest selecting the “Throughput-Optimized”. This adds SSDs as Write Ahead Log (WAL) Drives for Hard Drives to accelerate their performance and act as a cache.
Adding New Hosts
It is easier to add a host via cli than the gui as you would probably be on cli while prepping for the install.
On each node you need to have cephadm installed along with the ceph public key in an account with passwordless sudo privileges.
Ceph defaults to using the root account for login
You can add the ceph public key by echoing the output of /etc/ceph/ceph.pub
1
sudo echo '<pubkey>' >> /root/.ssh/authorized_keys
On your initial host run this command and replace the hostname and ip with the node you want to add to the Ceph cluster:
1
sudo ceph orch host add <hostname> <ip>
Pitfalls
Ceph Cluster stuck in “Warning 1 pg active+unclean+undersized” state
By default a Cephadm install runs the CRUSH Map based on host replication. This is a good strategy if you have 3+ nodes that are all the same. If not, you can run into some issues.
If you need to switch the replication strategy, you can change the default behavior from host to osd.
This is not recommended for a production environment as a node failure could take down your entire cluster.
- Dump the crushmap config from an ceph admin node
1
ceph osd getcrushmap -o /tmp/cm.bin
- Convert the crushmap to an ascii format
1
crushtool -d /tmp/cm.bin -o /tmp/cm.bin.ascii
- Open
cm.bin.asciiin a text editor and change the line in #rules from:
1
step chooseleaf indep 0 type host
to:
1
step chooseleaf indep 0 type osd
- Recompile the new crushmap:
1
crushtool -c /tmp/cm.bin.ascii -o /tmp/cm_updated.bin
- Update Ceph’s crushmap:
1
ceph osd setcrushmap -i /tmp/cm_updated.bin
Dashboard hangs or monitor is unresponsive
- Find the docker container that is running the monitor/manager and note the container id
1
docker container ps -a - Find the container running
ceph-mgrand run:1
docker restart <container id>
Resources
These are some of the resources I used while building our Ceph cluster: